
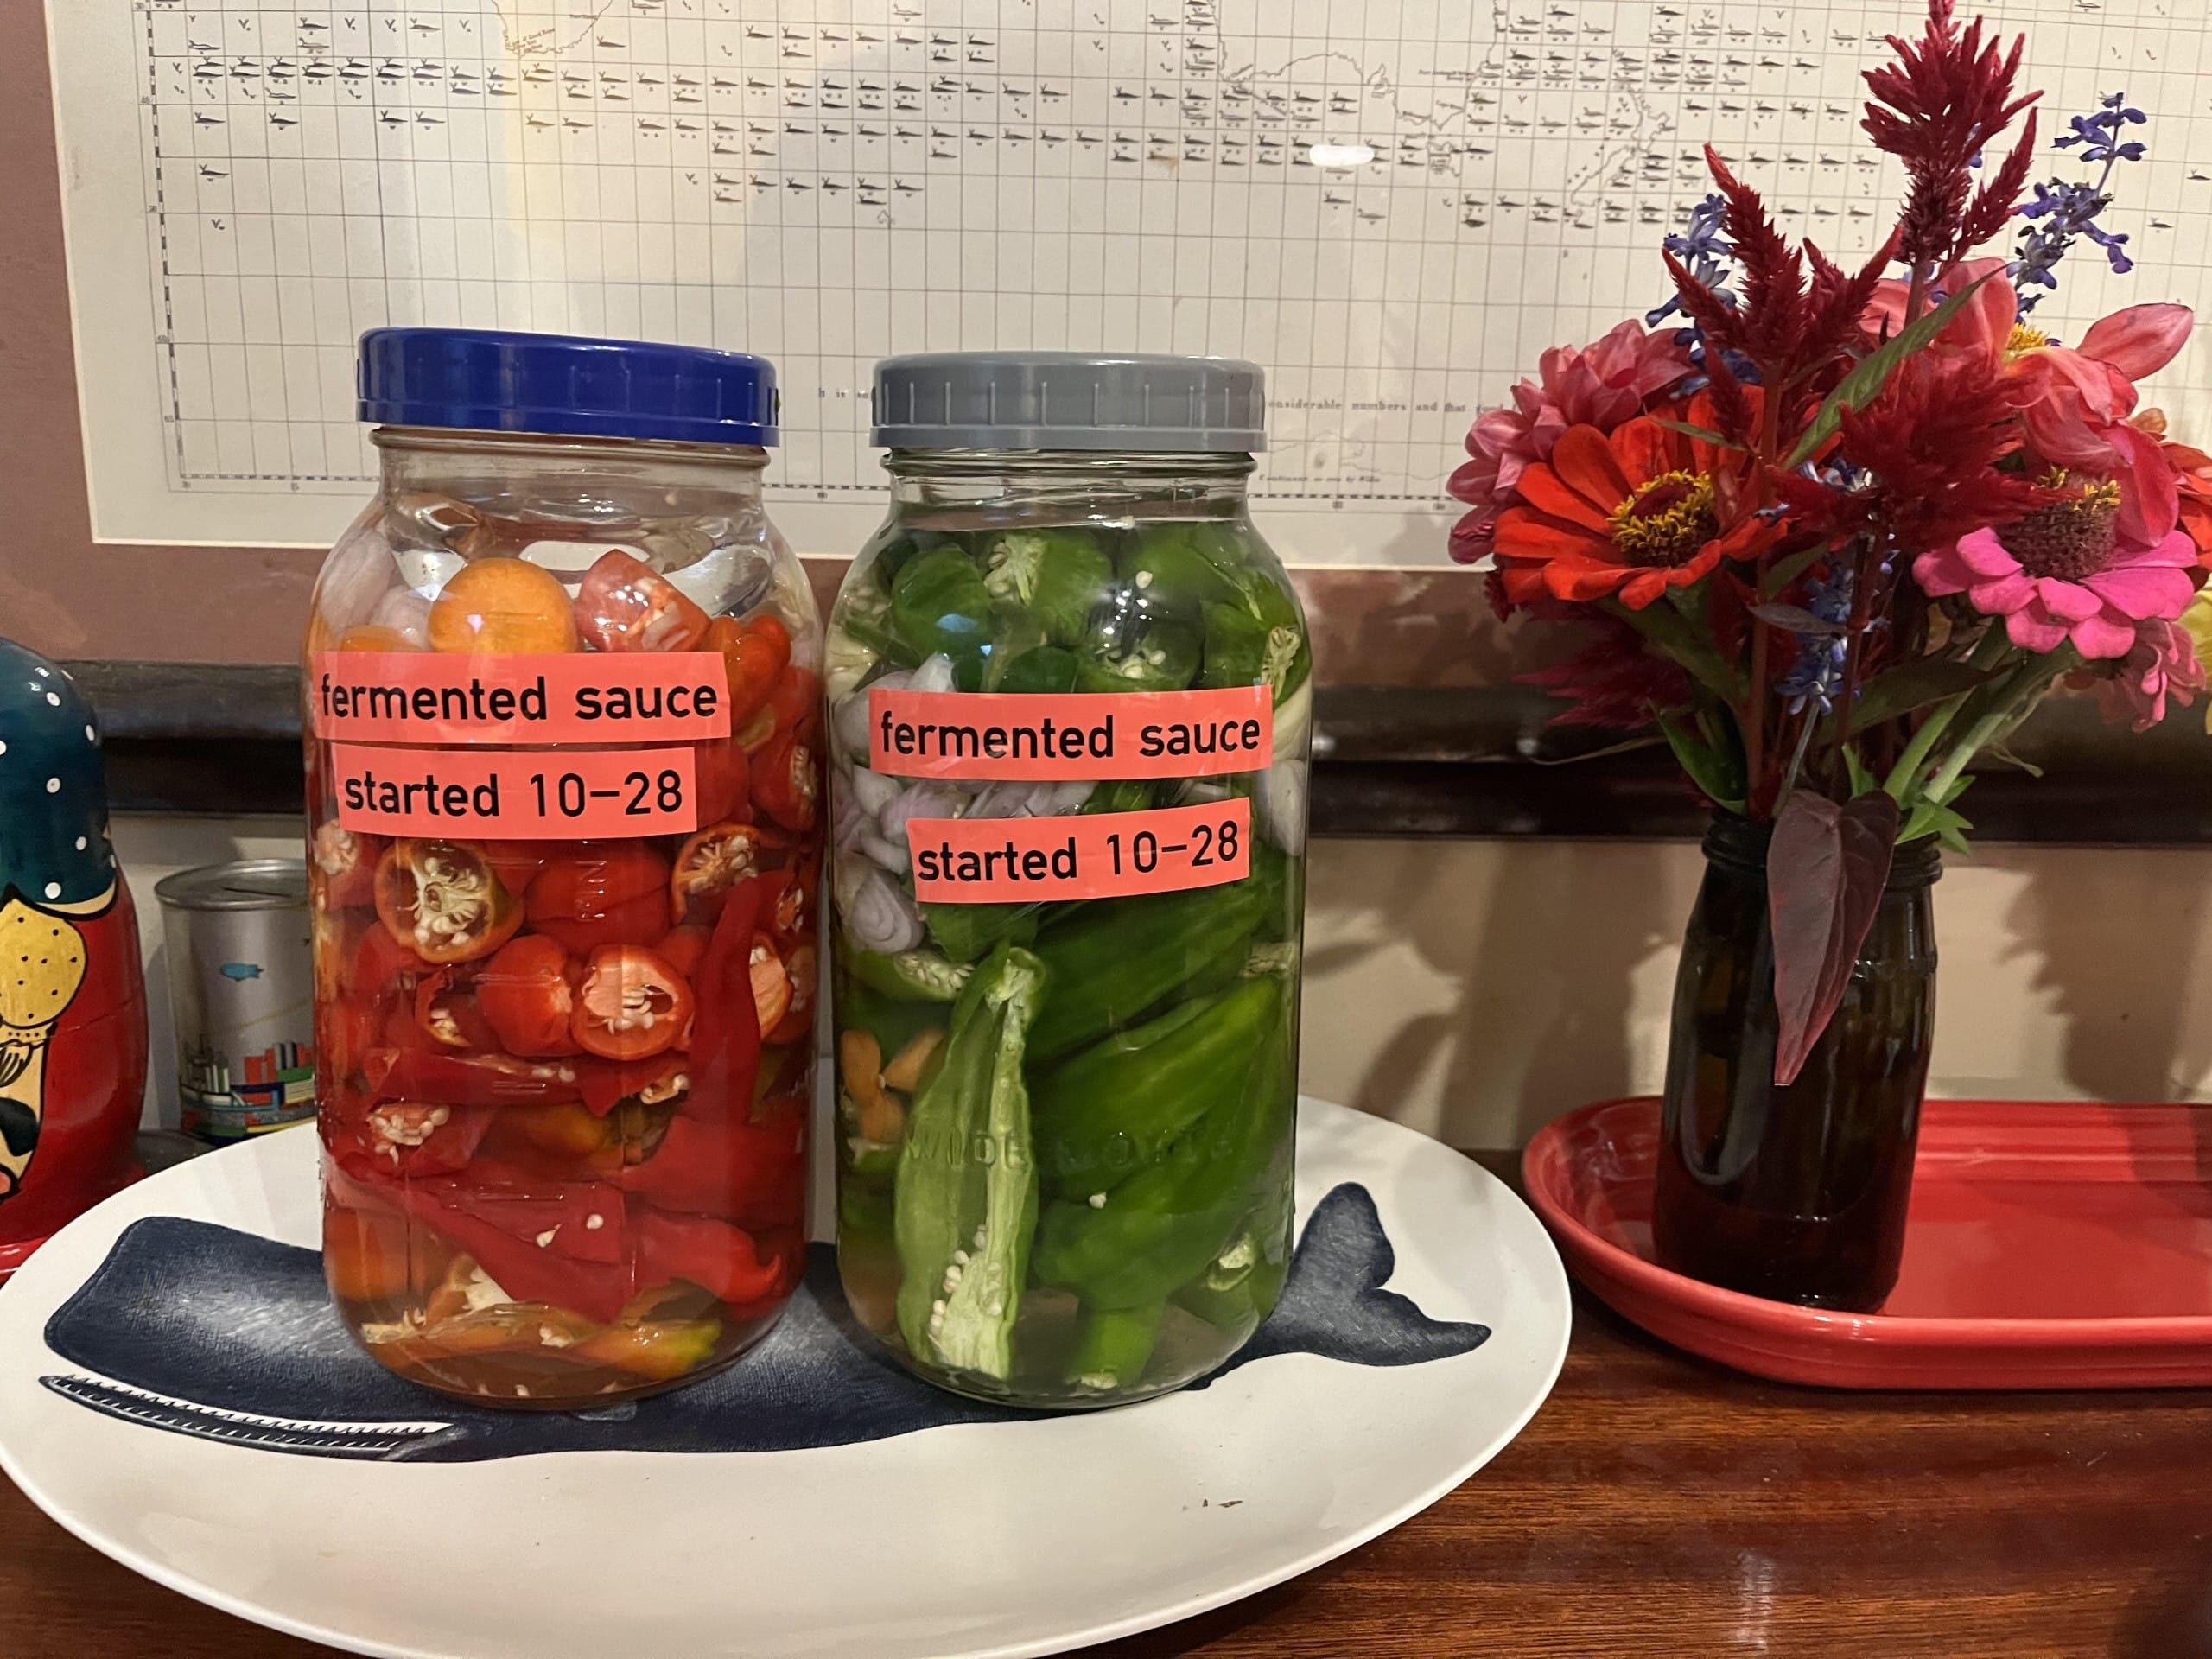
I found this recipe, by Sylvia Fountaine, in 2020, when I was struggling to figure out what to do with the last of the season’s peppers, and searching for something that would keep for a long time, stretching that good taste into the winter. I have a picture of the beautiful jar of fermenting peppers and aromatics I made right before the 2020 general election, resting on the kitchen pass-through during the fermentation phase. The magic of this one is that the sauce keeps forever in the fridge, changing subtly over the weeks, delivering continual hits of hot-and-sweet for your eggs, potatoes, and burritos well into next year.
Now, making a double batch with the last (maybe!) red and green chiles from my CSA, I’ve got that same sense of the casting forward in time. “When we are eating this, what will life be like?” I hope the answer is positive.

Last-of-Harvest Fermented Hot Sauce (from Feasting at Home)
5 cups filtered water, lukewarm (don’t use chlorinated, it’ll mess up your fermentation)
6 1/4 teaspoons finely ground sea salt (or Pink Himalayan salt) – use 1 1/4 teaspoon salt, per 1 cup of water
1 pound chili peppers, all same colors for the prettiest outcome when blended
1 carrot, very thinly sliced, preferably from the farmers’ market (do not peel—the good bacteria on the outside will help you along)
4–6 garlic cloves, mashed up a bit and separated into quarters
1–2 shallots, sliced (or ½ an onion)
Optional additions, to play around with adding after the basic sauce is ready:
Oregano, cilantro, celery leaves
1–3 tablespoons apple cider vinegar, such as Bragg’s
Honey or sugar
Directions
- Make the brine. Warm up the water on a medium-low burner. Stir the sea salt in until dissolved. Set aside, in a vessel with a pouring spout (Pyrex or batter bowl), to cool to room temperature.
- Protect yourself from your chiles, if they are hot ones. Wear gloves and slice off their tops, then slice them in half. If you like, stem and seed them (if you want the sauce to be less hot). Prepare the carrots, shallots, and garlic.
- Use a half-gallon (two-quart) Mason jar, or jar of equivalent size, to pack your vegetables. Arrange them in pretty layers—they’ll be nice to look at while they’re fermenting.
- Pour in the brine. Now, you need to weigh down the chiles in some way, so that they are not at all above the brine. I have these canning weights that fit into the wide mouth of this kind of Mason jar, but the recipe author suggests you could also use a Ziploc filled with water, or a cabbage leaf weighted by a shot glass. Put the lid on, loosely (you want the fermentation to have space to breathe).
- Because the jar may exude liquid, you need to store it on a plate or bowl. The author recommends putting it in a cool, dark spot, like a basement, but I’ve done okay just leaving it on my (relatively cool and dark) kitchen counter, for lack of a better place.
- At around 5-7 days, check to see if the brine is looking cloudy. Tap the jar and look for bubbles. These signs of fermentation mean that you are ready for the next step.
- Strain the vegetables from the brine, but do not ditch the brine yet! Save it in a bowl! Put the vegetables in a blender, add a cup of the brine, and blend very smoothly.
- Taste, knowing that the hot sauce is at its hottest right now and will mellow in the fridge. Stick in add-ins, like herbs, vinegar, or sweetener. (This is the fun, creative part.) Add more brine if you want it looser. Blend again.
- Use a squeeze bottle (like these) to store the sauce in the fridge, where it will stay good for months—I’ve had some that’s nine months old and very good. A key note is that you will need to store it with the lid off, to allow gas to escape as the sauce continues to ferment! (A random tip is that I actually used kitchen shears to snip off the ends of the nozzles of these bottles, to make it easier to get the sauce out.)
- Before you go to squirt out some sauce, hold your finger over the tip of the nozzle, to give it a shake.
